 The village of Riomaggiore, tone mapped in SNS-HDR from 3 bracketed shots
This is a beginner tutorial on how to create a natural looking HDR image with SNS-HDR software. You should read also this introduction if you want to know how I ended up abandoning the free Luminance HDR software and starting using SNS-HDR.
A thank you to Sebastian Nibisz, the developer of the software, that gently offered me a copy to test.
In this guide we will see the basic interface of the program and the initial workflow, at a beginner-intermediate level: I'm supposing you are already familiar with bracketing and HDR imaging, since I won't explain this here.
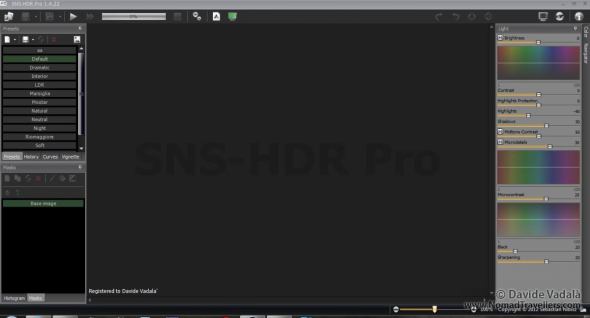
Let's first see how the workspace is organized. There is an horizontal toolbar on top with the following commands: open and save a file, open in an external editor, batch and series process and colour profiles management. Then there are two sidebars: note that the positions of the different toolbars can be customized and they can be docked anywhere.
By default on the left there are the preset profile, and the masking interface. On the right the "Light" and "Color" panes. Other tabs available are History, Curves, Vignette, Histogram and Navigator.
On the bottom left if a slider to set the zoom level.
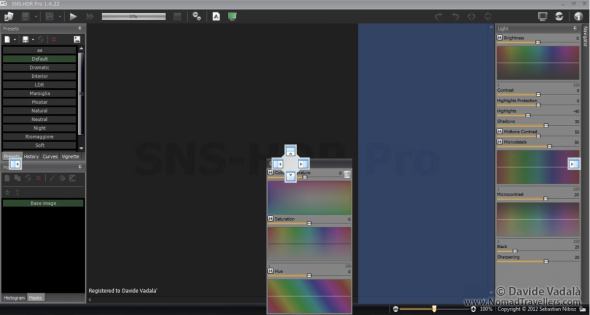
By clicking the pin on top right of each pane, it is possible to minimize the toolbar. By dragging a tab it can be docked in one of the suggested positions, moving the pane over the corresponding arrow.
A new project can be started with the "open image" icon and by selecting as many photos as needed: the extra power of SNS-HDR is that not only it allows to create tone mapped images from 3+ bracketed photos, but it's even possible to do it from a single frame, with impressive results. Jpeg, Tiff and Raw are all supported, even in single frame mode, despite the last one is clearly giving the widest dynamic range. On the "Open image" windows it's possible to reduce the size of the imported picture by a factor 1 (original size) or 2,3, etc. up to 10x: this is speeding up the initial loading and calculation process, since it is time consuming. I usually use 4x to create images for the web, but this depends also on the size of the photo fed into the program.
A trick for Windows users is to press "alt+ctrl+del", select SNS process and with a right click to set a "lower priority". This way while waiting for the photos to be processed, it's possible to use the PC for other tasks without visible speed limitation. Note that despite I've never had any problem with this trick, it might make your computer unstable, so I don't assume any responsibility.
It's also possible to denoise the input images, but there is not much control over the process. It's possible to select only a strength from 1 to 9. The noise reduction function is not working with Jpeg images.
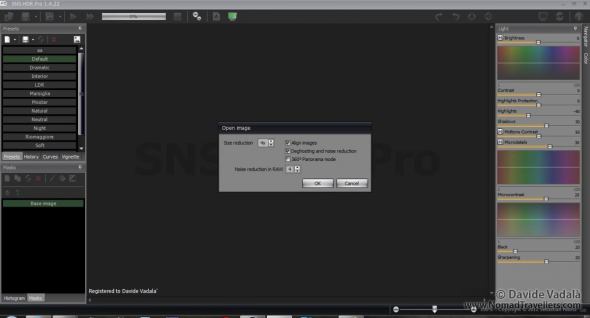 Starting a new project in SNS-HDR
After the initial calculations are finished, the tone mapped image we'll be visualized with the last used preset profile. There is no possibility to save the raw HDR image before the tone mapping process. Clicking on the image with the right click is showing the default image, to easily compare it with the actual result.
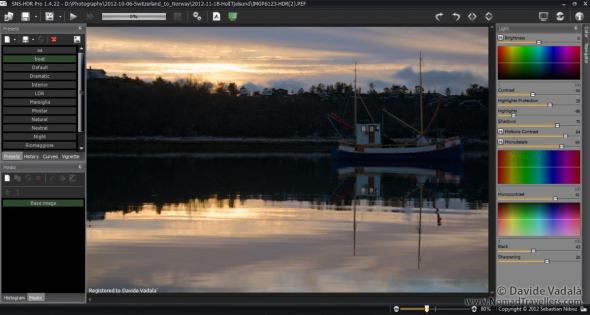 Showing the default image in SNS-HDR
As a first step the best thing to do is to select a preset profile that we think is closer to what we are expecting. After we can proceed to fine tune the result with the sliders on the right side. It's possible to add also personal preset profiles, so that the tuning process is usually quite fast compared to other HDR softwares. The sliders are quite self-explicative, and after playing a little bit with each one it's quite intuitive to understand how they impact the image. This is because the result is updated instantly in the tone mapped image.
Selecting the "H" next to some of the slidebars, only the lights are influenced, turning in example "Brightness" into "Lights Brightness" and so on.
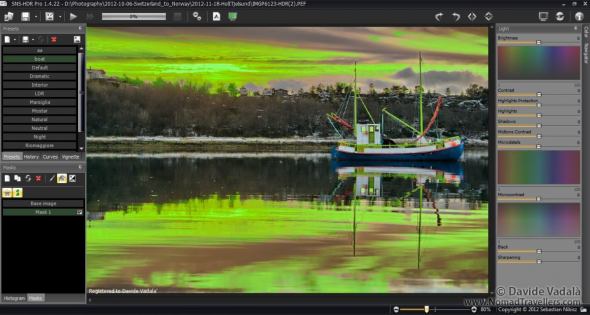
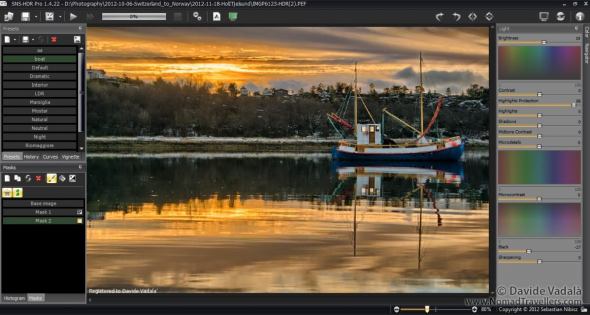
With the preset profile that I've created previously, the orange colour looks too much saturated, while it looks well balanced in the rest of the photo. I can change this parameter also selectively, by creating a mask from the bottom left toolbar.
In this case I created the mask, highlighted with a green colour, with the paint bucket option, that is automatically matching the color of the selected point. Unfortunately there is no control over the threshold, so often this selection input is not successful. With the left click new selections are added, with the right click they are subtracted.
Once the mask is created, it is possible to modify the parameters that are going to influence only the masked part, in this case the saturation. We can also activate and deactivate the mask to see the difference.
In this case instead of using the mask, I could have obtained a similar result by working on the "Lights Saturation" selecting the "H". Another option would have been instead of using the saturation slider, to modify the saturation value selectively through the colour spectrum below.
The image is almost ready, but I'm still not satisfied with the colour of the boat, that seems too dark. To brighten it up, I've created another mask, using the second method available: the brush. The brush size on the screen is constant, but it's possible to modify its influence by changing the zoom level. We can paint the area that needs to be changed with a solid color, or with the "intelligent selection", the star icon, that is highlighting only the colors in a close range to the selected one.
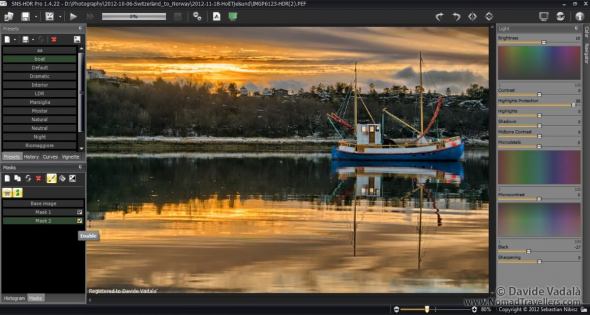 Masking the boat and increasing the brightess
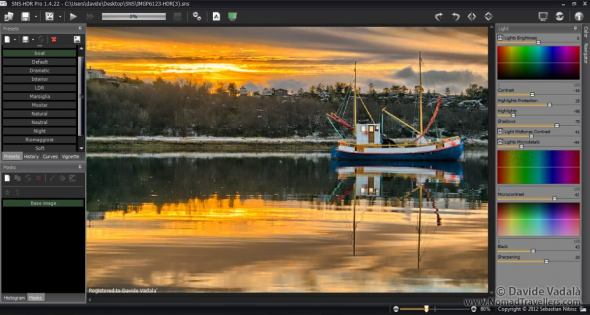
Once again we make our changes on the slidebars to increase the brightness and the image is ready to be exported as a Jpeg, a Tiff or a SNS format. The proprietary format is exporting all the parameters and the masks settings.
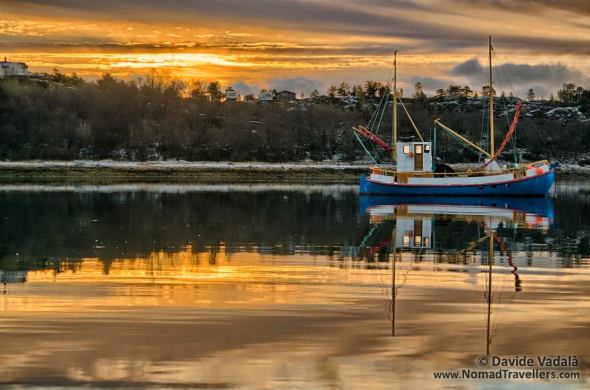 Final tone mapped HDR in SNS-HDR
If you are willing to try SNS-HDR, there are a Pro and a Lite version, the only difference being the batch and series feature. The batch feature is using the last selected preset profile, while the series feature give the possibility to insert different parameters for each photo.

